lovey dovey

I love my family!

I am a wife, mother of three beautiful boys, and a middle school administrator. At times, I have mistakenly tried to achieve perfection in each role. These attempts always fail miserably because there is no such thing as a perfect wife, a perfect mom or a perfect worker! I decided to relinquished my pursuit of perfection…I can say without guilt that my shortcomings are vast and my mistakes many. Embracing my imperfections and turning my life over to God has been freeing and led to a sweeter life. I found that when I quit trying so hard, that SOMETIMES things magically fall into place and for brief moments I am “Supermom.”


Friday, January 6, 2012

Vintage Cowboy Frames

Parker's room has a vintage cowboy theme.  I was really pinching every penny when I decorated it because at the time we had just bought an old house that needed a ton of renovations and had the expenses that come with a new baby.  I will do a later post with all the craigslists finds that were amazing deals that made his nursery so cute.  In this particular post, I'm just going to show how I took some frames I picked up at a tag sale for a couple of dollars and turned into a vintage cowboy frames. 

First I used pages from a book that I picked up at Goodwill for $1.  It had some really fun cowboy stories in it that I ripped out.  I just arranged the pages on the frames and used some leftover wallpaper paste as my decoupage medium (I use elmer's glue, diluted with water, most of the time as my decoupage medium).


Once I finished applying the pages to the star frame, I stamped Parker's baby hand in paint and got a hand print on some brown bag paper. 

For the other small frame in Parker's changing table area (a closet I took the door off of and place a dresser w/changing pad on top), I placed a photo of Parker from his one year photo shoot.  Lillian took the pictures and they turned out awesome.  We did several western style ones so I could hang them in the nursery.  He made the cutest darn cowboy I ever did see!


Parker is holding my Papaw's cowboy hat in this picture with his little cowboy boots on looking at some horses in the background. 


A neat addition, all for less than $10!   


Check out all the cool stuff going on at the Saturday Nite Special at Funky Junk Interiors!


Wednesday, January 4, 2012

Football Chair


Usually every year, I try to make at least one gift for the boys.  I love the old fashioned Christmas feel of making gifts instead of buying feels.    This year, I decided to recover an old chair that I bought for $5 some years back.  I went with a football theme to go in the new gameroom. 

Here are a few of the ugly before pictures of the chair.  Despite it's dingy brown fabric, it has some really good bones and tough springs...I have a few scars from trying to redo the springs. 


My little helper!  Good thing he can't talk clearly yet, so the chair was able to be kept a secret until Christmas morning. 

I found a sheet set at a local thrift store for $4.50.  It was a vintage NFL logo sheet set.  Perfect for what I had in mind!  I took the fitted sheet and cut it up to cover the base of the chair.  It was a simple upholstery job where I just folded the fabric in place and stapled gunned it down.  On the top portion of the chair, I used a pillow case cut up.  I love it because it has a full figure of a football player in action.  This required a little bit of sewing on the sides to give it a neat appearance, but again, it was very simple stitching. 

Tonight during one of our nightly Foosball matches, Ryan said, "Mom, that chair you made is really nice.  I sit in it every afternoon after school."  Awww, that means the world to me.  Sweet boy.

I'll have to post pictures of the gameroom soon.  We've gotten a ton of enjoyment out of it already!

Check what's going on at the Saturday Nite Special at Funky Junk Interiors!

Silhouette painting

For Jaron's birthday, I decided to do a silhouette painting of the boys.  I have seen them across blogland and on pinterest and just really love them.  I love the vintage feel of them and their simplicity.  The process was really easy.  I wish I had taken pictures along the way, to show the process, but my blog was broken at the time so I didn't think it was necessary to do a step-by-step tutorial because I thought I wouldn't have been able to share.  Here are some basic steps written out below:

1.  Take a profile picture of your child against a solid color wall (no busy wallpapers). 
2.  Load the picture from your camera to your computer.
3.  In Microsoft Word or Publisher or whatever program you prefer, insert the picture.  Increase the size of the photo by clicking on it and pulling on the corner of the photo until it is the size you desire.  I first cropped my photos, getting as close as I could to the faces and then made the faces about the size of the page. 
4.  Print the photo.
5.  Using a good pair of scissors, cut out the picture.  Be very careful to get any details you want to include (hair, bows, eyelashes, etc.). 
6.  Trace this image onto a blank piece of paper and then draw a bust.  I went with a very traditional looking bust with a collared shirt.  You can always add details here if you'd like.  For example, my boys have really long hair and I wanted to make sure you could see some of the layers and things, so I drew in some choppy pieces of hair that the camera didn't quite catch. 
7.  Then cut out this entire image.
8.  Trace this image onto a canvas or a board if you are doing a painting.  I have seen many that just have this image cut out onto scrapbook paper and framed and those are nice too. 
9.  Paint the silhouette in the desired color.  I went with traditional black, but have seen some really nice ones in various colors.  Make sure you have a really small tipped paintbrush. 
10.  Embellish around the silhouette as desired.  I went with rounded frames with a gray background and a scalloped black frame.  I did a leather technique of maroon on the remainder of the canvas. 


The up close view of Ryan's painted silhouette. 

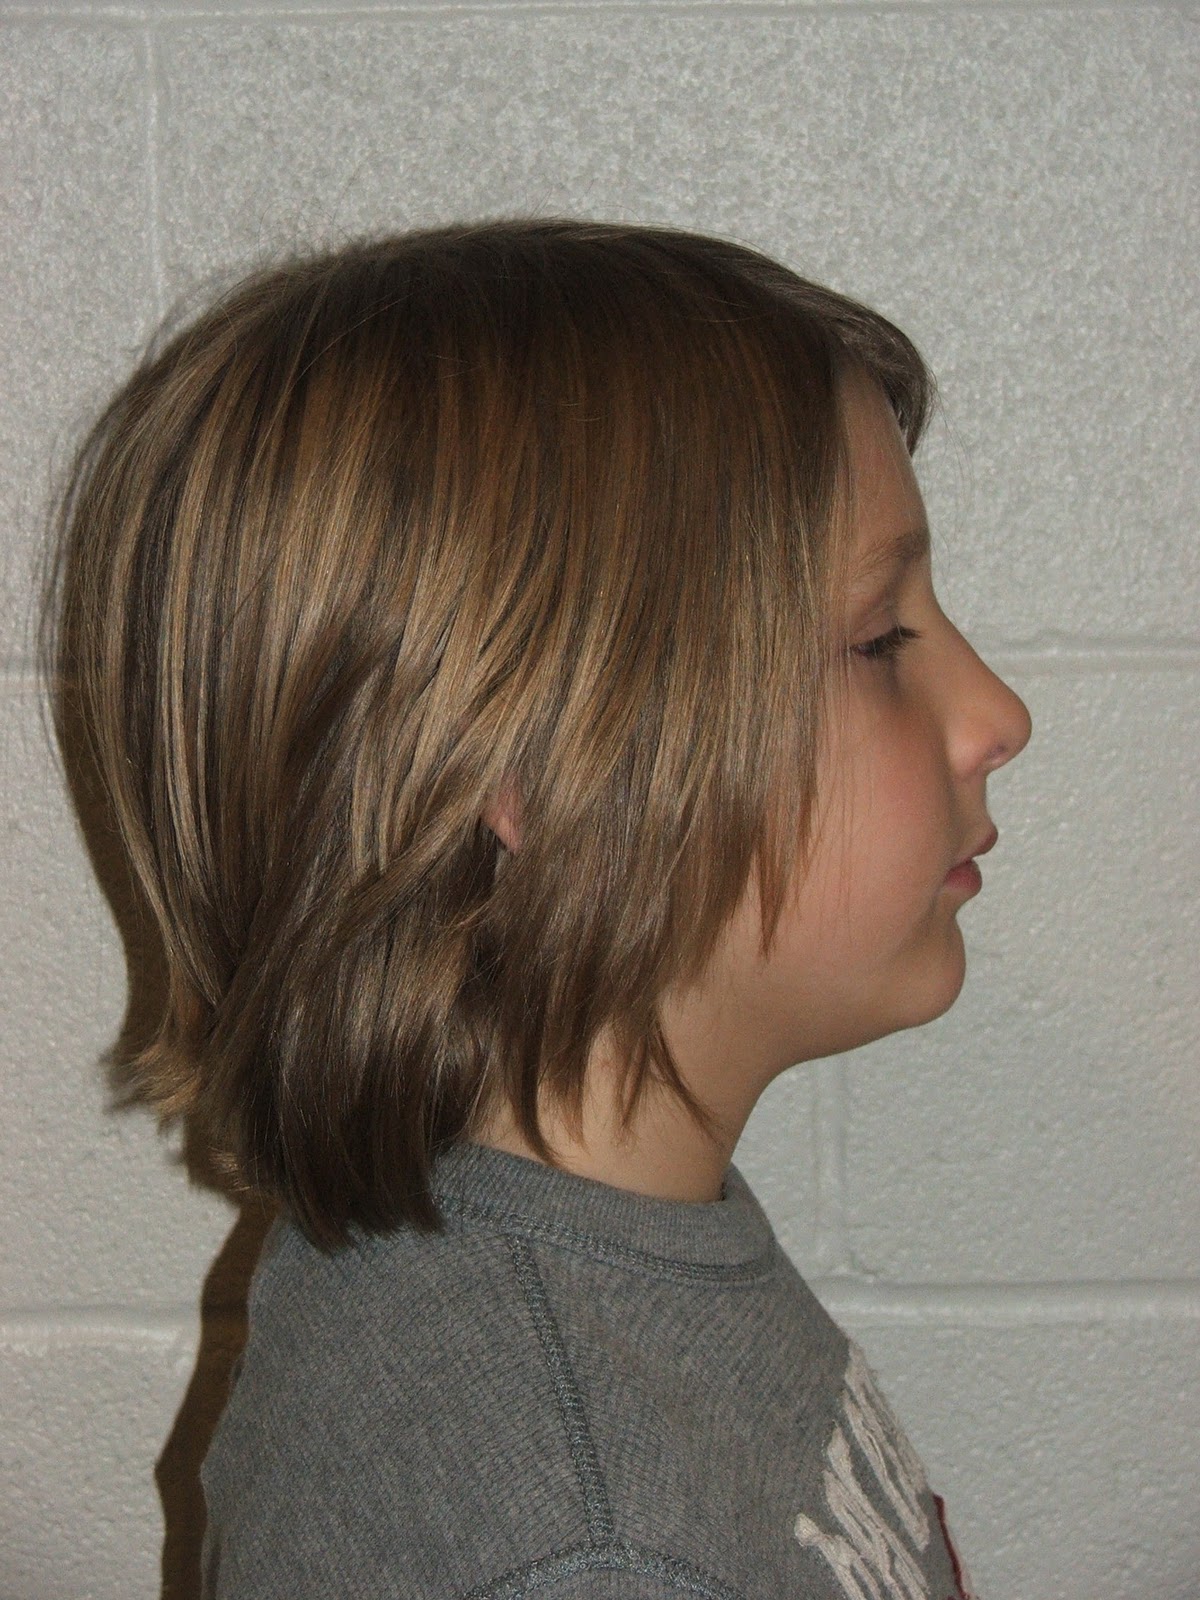
This is an example of one of the profile pictures I took of Cannon.  Notice how his hair in this picture didn't quite fall right, so I added some wispy pieces on the painting. 


Here's little Parker!  I was afraid I wouldn't be able to keep him still long enough to get the shot, but thanks to Dad we were successful.


Ryan looks so thrilled to have his "mug shot" taken.  Teenager three years too early!
Jaron loved his birthday present.  I looks nice hanging in the living room and sort of makes things complete, I think.  :)


Check out what's going on over at the Saturday Nite Special at Funky Junk Interiors!

G.I. Jaron Birthday Party


Jaron turned 35 in December and the boys wanted to celebrate "big".  Yea, I love an excuse for a party!  They decided that it should be a G.I. Joe themed party because Jaron loved it when he was a kid.  So, we got busy planning the G.I. Jaron Birthday Party.

First off, I made an invitation.  I dressed the boys in camo and luckily got this shot on the first try!!!  I love little Parker going "shhhhh" and the other two attempting a salute.   


Timothy was a huge help to me in party prep that day!  He actually made the goulash, one of Jaron's favorite meals, while I iced the cake.  He also hot glued the banner and food signs for me!  He has some crafting and cooking skills.  His help was a lifesaver for sure, because I wouldn't have pulled the party off with out him.  Here are some pictures of the "Mess Hall".  (some of the pictures are blurry...this is before my new camera.  Thanks, Manna...pictures will be in focus from now on!!)


After our tummies were full, it was time for some military themed games for the kids.  To start off, we had "Get your War Paint on", then "Nerf Gun Wars", "Parachute Drop" and "Tug 'o War". 


We had a dessert station outside with "cake bombs", "rescue ropes", and a G.I. Jaron cake.  The cake was made with a vintage Wilton pan that I found years ago for cheap and held on to.  It is a sloppy icing job, as I was so rushed to put the party together. 


Jaron's mom, step dad, dad, step mom, brothers, and a few good friends were able to make it to the party.  He was quite surprised and loved what his boys had planned.  The boys and I had a great time putting it together and were glad we could do something nice for Dad!  


The troops!

Paul enjoying his goulash.

The chef, Timothy, taking a rest after all his hard work!!


I made all the party printables (food tags, banner, invitation, water bottle wraps, etc.) and am going to list them for purchase on etsy, however I will send them to you for free if you are a follower of my blog!  Just comment if you want them.